

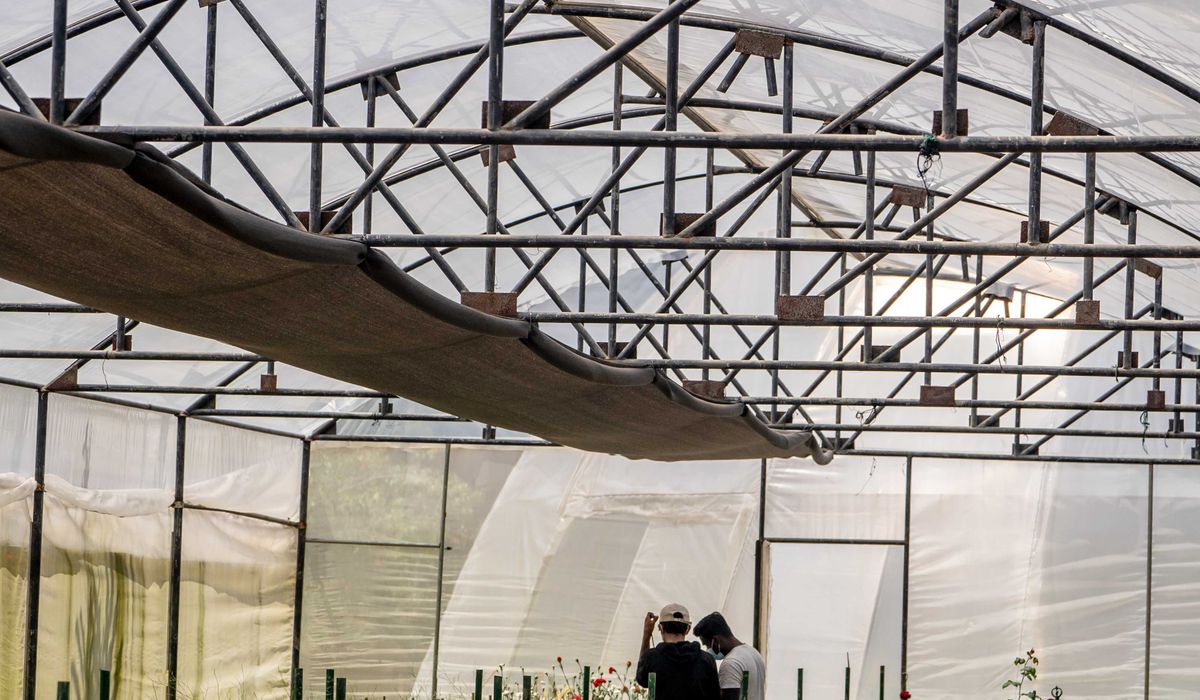
How to Choose a Greenhouse for a Small Garden
Start With the Space You Actually Have
Before you open a single catalogue, spend a week watching how the light moves across your garden. A greenhouse needs at least six hours of direct summer sun, ideally with the ridge (the highest point of the roof) running east to west so the long south-facing side catches the low winter sun as well as the high summer sun. That single detail can add weeks to your growing season at both ends of the year.
Next, measure properly. Mark the footprint out with canes and string, then walk around it for a few days. A 6ft x 4ft house looks generous on a plan and feels cramped the moment you add staging, a water butt and a single truss of tomatoes. If you can only go small, think about a lean-to against a house or garage wall: it borrows the building's warmth and shelter, which suits tomatoes, chillies and overwintering tender perennials beautifully, though you'll only get light from one side.
Also check the practical limits. In most of the UK a modest greenhouse falls under permitted development, but height restrictions apply close to boundaries, so it's worth a quick check before you commit. Leave room for a path, a door that opens fully, and somewhere to put a barrow.
Frame Materials: Aluminium, Timber or Plastic
- Aluminium: Light, rust-free, needs almost no upkeep, and the slim glazing bars let in more light than any other option. It does feel colder in winter and can suffer condensation, so look for a powder-coated finish if you want a colour other than silver.
- Timber: Warmer to look at, naturally insulating, and it damps down noise and condensation. Expect to treat it every two or three years, and favour rot-resistant species such as cedar or thermally treated softwood over untreated pine.
- Plastic or resin: The budget end of the market. Frames can flex in strong wind and glazing panels may yellow over time, but for a first greenhouse or a short-term rental garden they can be perfectly serviceable.
For a small garden I'd usually steer people towards a decent aluminium frame with a coloured coating, or cedar if the greenhouse is going to be a real feature. In a compact space you look at it every day, so it may as well be handsome.
Glazing: Glass, Polycarbonate or Acrylic
- Horticultural glass: Traditional, cheap, brittle, and it breaks into shards. Fine for a sheltered spot, less good with children, footballs or exposed sites.
- Toughened glass: Safest and clearest, with large panes and fewer bars to shade your plants. It costs more and must be ordered to size if you break one.
- Twin-wall polycarbonate: Light, tough, and the twin layers trap air, giving useful insulation and diffusing harsh light that can scorch leaves. It does cut light transmission by around a fifth and scratches more easily, so keep it clean.
- Acrylic: Lighter than glass and clearer than most polycarbonate, but expensive and prone to scratching.
Mixed glazing works well: glass in the roof for maximum light, polycarbonate on the lower walls where boots, canes and watering cans will knock against it.
Ventilation Is Not an Optional Extra
Overheating and damping-off fungi ruin more greenhouse crops than cold ever will. As a rule of thumb, aim for roof vents covering roughly a fifth of the floor area, plus a low-level louvre vent in a side wall or door so hot air can escape and cool air can be pulled in.
Automatic vent openers are worth every penny. They use a wax-filled cylinder that expands with heat, so your vents open while you're at work on a June afternoon and close again as the evening cools. Add a louvre with an opener too if you can stretch to it. Finally, make sure the door can be propped or hooked open securely, and think about shading: a roller blind or a wash of shade paint on the south roof in July keeps temperatures manageable.
What Sits Underneath and Around It
A firm, level base is essential, and it's the job people most often rush. A timber or metal base frame on paving slabs is the easiest route; a solid concrete plinth is more permanent. If you want to grow directly into the soil, remove the paving inside and improve the ground with compost before the frame goes up, since you won't get another chance.
Fit guttering and a water butt if the design allows; you'll be surprised how quickly a modest roof fills a 100-litre butt, and rainwater is far kinder to seedlings than tap water. If you plan to heat or light the greenhouse, have a qualified electrician run a properly protected supply rather than trailing an extension lead across the lawn.
Matching the Choice to Your Budget and Growing Style
Be honest about what you want to grow. If it's salads, herbs and a few chillies, a small polycarbonate house with one roof vent and a louvre will do the job. If you're aiming for tomatoes, cucumbers and year-round harvesting, prioritise glazing quality, roof ventilation and enough floor space to move.
Spend your money in this order: ventilation first, glazing second, frame third, and decorative extras last. A greenhouse that stays cool, bright and dry will earn its keep in a small garden for decades. Buy the best one your space and budget will comfortably allow, and it will repay you every February when the first seeds go in.


Greenhouses
-
Use sturdy untreated boards to create productive beds, checking for splinters and lining the sides to protect the wood.


Cold Frames



-

Long established fact that a reader will be distracted
-

Long established fact that a reader will be distracted
-

Long established fact that a reader will be distracted


Polytunnels
Karla Gleichauf
12 May 2017 at 05:28 pm
On the other hand, we denounce with righteous indignation and dislike men who are so beguiled and demoralized by the charms of pleasure of the moment
M Shyamalan
12 May 2017 at 05:28 pm
On the other hand, we denounce with righteous indignation and dislike men who are so beguiled and demoralized by the charms of pleasure of the moment
Liz Montano
12 May 2017 at 05:28 pm
On the other hand, we denounce with righteous indignation and dislike men who are so beguiled and demoralized by the charms of pleasure of the moment