

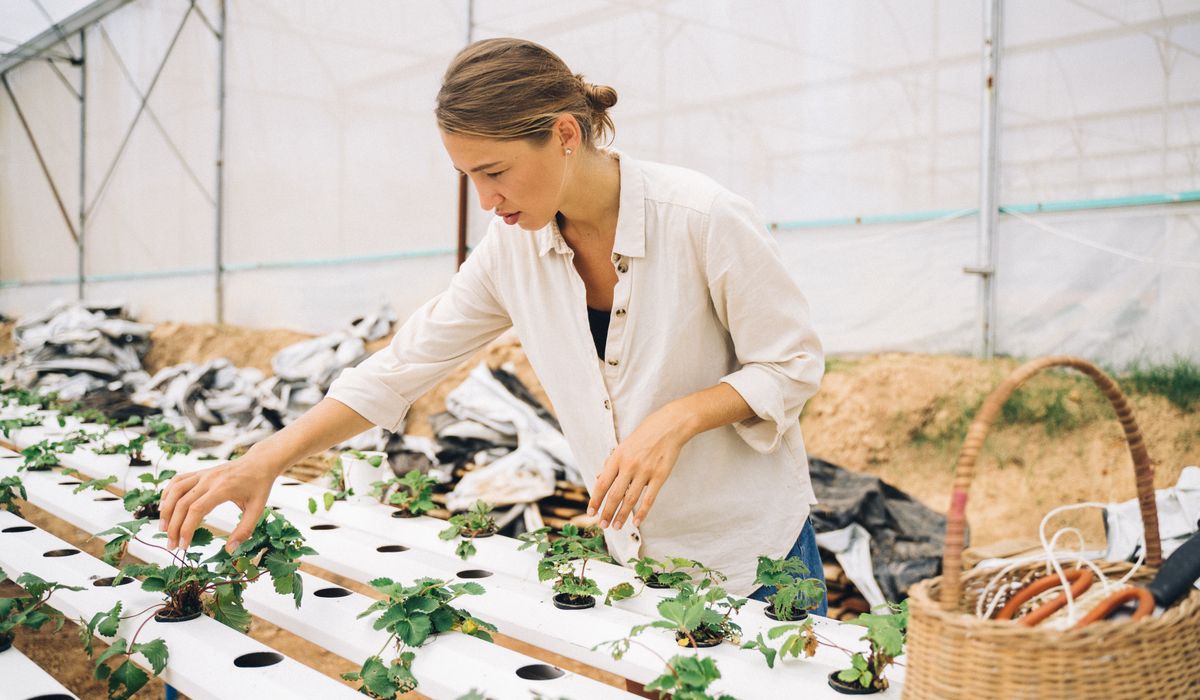
Starting a Compost Heap in a Small Garden
Why Compost Belongs in Even the Tiniest Garden
If you have room for a few pots, a raised bed or a narrow strip of border, you have room for a compost heap. It is the single most useful thing you can make for your garden, and it saves you money on bags of multipurpose compost, which seems to get dearer every spring. A good heap also diverts kitchen peelings and garden trimmings from the bin, cutting what you send to landfill.
The trick in a small garden is scale. You do not need a sprawling three-bay system. A single 200–300 litre bin tucked behind the shed, screened with a bit of trellis or frost-proof willow, will quietly turn a year's worth of waste into a wheelbarrow or two of dark, crumbly humus. That is plenty for topping up raised beds, mulching fruit bushes and enriching the soil in your protected growing space.
Choosing Your Bin or Heap
In a tiny plot, a covered bin beats an open heap almost every time. It looks tidier, keeps the rain from waterlogging the contents, and holds warmth and moisture far better. Look for a bin with a lid and, ideally, a hatch at the base so you can dig out finished compost without emptying the whole thing.
Options that work well in UK gardens:
- A lidded plastic cone or box — cheap, neater, takes up about a square metre, and warms up quickly in sun.
- A wooden slatted bin — you can build one from pallet wood or scrap boards for very little, and it breathes better than plastic.
- A tumbler — excellent where space is genuinely tight, though you can only process small batches at a time.
- A wormery — brilliant for a courtyard, handling cooked scraps and producing both worm casts and liquid feed.
Site it on bare soil if you can, in partial shade. Contact with the ground lets worms and microbes move in, and partial shade stops the contents drying to a crisp in a hot July. If you must stand it on paving, put a spadeful of garden soil in the base first.
The Greens and Browns Balance
Everything rests on getting the mix roughly right. Think of it as a recipe: about two to three parts "browns" to one part "greens" by volume. Browns are dry, dead and carbon-rich. Greens are fresh, damp and nitrogen-rich. Get the ratio right and the heap heats up, smells of woodland floor and breaks down in a few months. Get it wrong and you will know about it.
Greens include vegetable peelings, tea leaves and coffee grounds, grass clippings in thin layers, soft plant stems, annual weeds before they seed, and spent tomato plants.
Browns include shredded cardboard and plain paper, egg boxes, toilet roll tubes, straw, hay, dried leaves, woodchip in moderation, and the contents of your vacuum cleaner if it is mostly dust and hair.
Keep out cooked food if you have rats nearby, along with meat, fish, dairy, dog and cat waste, glossy magazine paper, and anything carrying perennial weed roots such as bindweed or ground elder. Never add diseased material or seed heads.
If the heap smells sour or slimy, you have too many greens. If it sits there doing nothing, you need more greens, more water, or a good turn.
Building It Layer by Layer
Start with a 10cm layer of coarse browns — scrunched cardboard, twiggy prunings, chopped straw — to let air and drainage through the base. Then add your kitchen waste, always covering it with a handful of browns so it does not attract flies. Sprinkle in a little soil or old compost every few layers to introduce the right microbes.
Chop anything bulky. A quick pass with the shears over tough stems, brassica stalks and cardboard speeds everything up more than any additive you can buy. Aim to fill the bin in one go if possible — a full bin heats far better than one you trickle waste into week by week. If you only generate small amounts, keep a lidded caddy in the kitchen and a spare bag of browns beside the bin to add in one batch.
Turning, Moisture and Keeping It Sweet
Turn the heap every two to four weeks with a fork, bringing the outside to the middle and the middle to the outside. This is the single best thing you can do for it. It reintroduces air, evens out moisture and restarts the heating cycle. In a small bin, simply lifting the contents and dropping them back in is enough.
Check moisture as you turn. Squeeze a handful — it should feel like a wrung-out sponge. Add water in dry spells, or fork in more browns if it is sodden. A well-made heap should reach 50–60°C in the middle within a few days of a good turn. If yours never heats, it is usually too dry, too short of greens, or too small a volume.
Finished compost is dark, crumbly and smells sweet and earthy, with few recognisable ingredients. In a warm, well-managed bin, expect results in three to six months; a slow, cool heap may take a year. Use it as a mulch, dig it into beds, or sieve it for potting and seed sowing. In a small garden, that home-made black gold is worth its weight in gold. Start now, and this time next year your beds will thank you.


Greenhouses
-
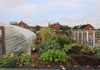
Plant hardy salads and early carrots under cover, venting the polytunnel on sunny days to avoid overheating and disease.


Cold Frames

-

Long established fact that a reader will be distracted
-

Long established fact that a reader will be distracted
-

Long established fact that a reader will be distracted



Polytunnels
Karla Gleichauf
12 May 2017 at 05:28 pm
On the other hand, we denounce with righteous indignation and dislike men who are so beguiled and demoralized by the charms of pleasure of the moment
M Shyamalan
12 May 2017 at 05:28 pm
On the other hand, we denounce with righteous indignation and dislike men who are so beguiled and demoralized by the charms of pleasure of the moment
Liz Montano
12 May 2017 at 05:28 pm
On the other hand, we denounce with righteous indignation and dislike men who are so beguiled and demoralized by the charms of pleasure of the moment